With Christmas just around the corner, we revisit an easy but effective craft to make your own expensive looking Christmas Gift tags, to give that personal touch to your gifts this festive season! This will only work with a laser printer due to the nature of the toner powder and fusing process, so this one's not for you inkjet printer owners I'm afraid!
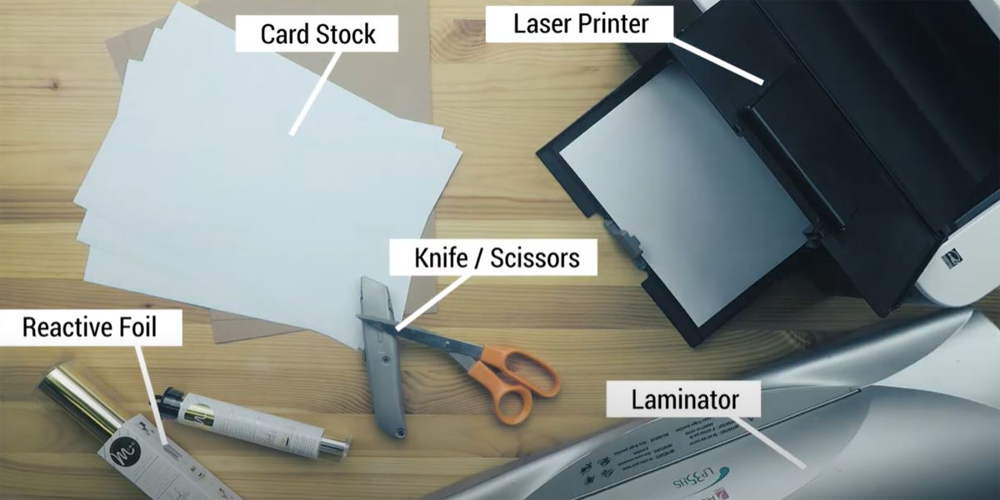
All you need are some reactive foil sheets in the colour of your choice (we recommend Gold and Silver), a laser printer, scissors, laminator, 2 sheets of A4 paper to protect your tags as they pass through the laminator and several sheets of A4 card to print your designs onto. We recommend plain white or kraft card for the best effect, as shown in the video.
Step 1
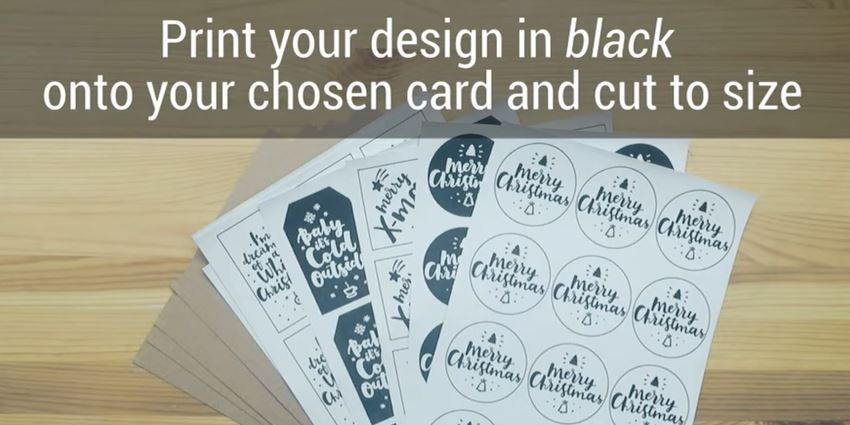
Create your gift tag designs (or use our pre-designed sheets, linked below!) and print them in Black on to your chosen card stock. Print as many as you can on to a sheet of A4 card for best efficiency, while leaving yourself enough room to cut the printed labels out with scissors.
Step 2
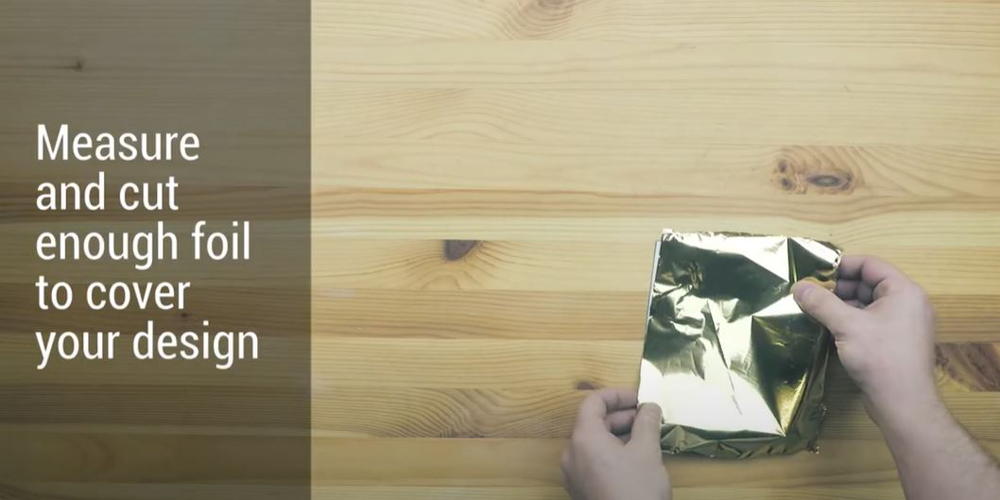
Once you've cut out your individual labels, cut foil to size, making sure it covers each of your labels.
Step 3
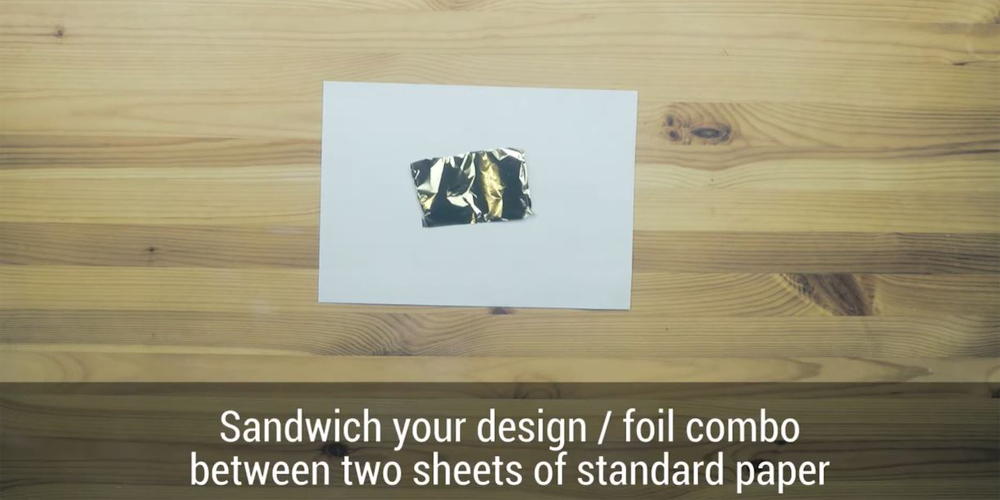
Heat your laminator to a medium/high heat (You may need to experiment for the best results) then arrange your tags covered by foil between 2 sheets of standard A4 printer paper. This will ensure everything passes through the laminator smoothly!
Step 4
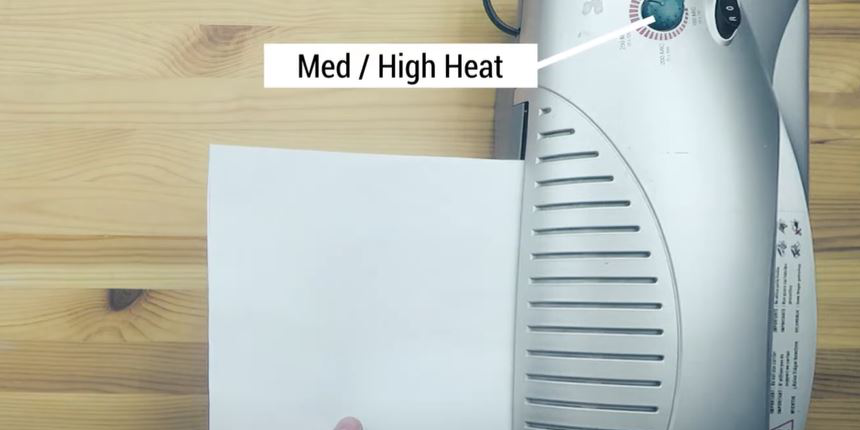
Pass the A4 paper through the laminator. This is where the magic happens as the foil sheet is transferred to the printed toner on your tags!
Step 5
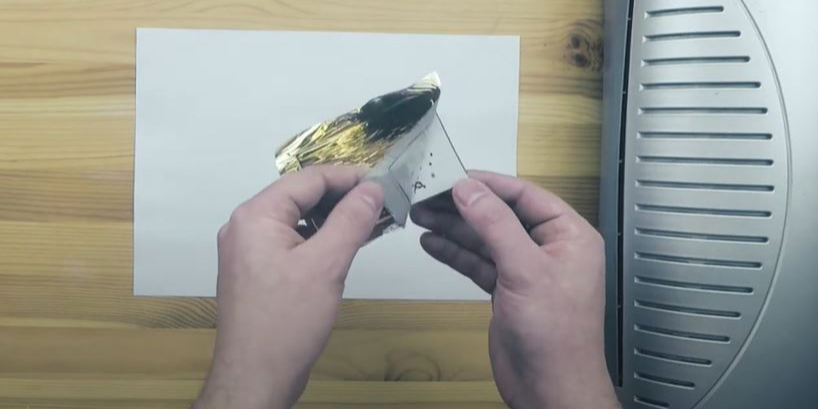
Peel the foil sheet away from each tag, exposing your super shiny, handmade Christmas gift tag!

